Creating artwork for print is more than just designing a beautiful piece—it requires technical precision, attention to detail, and the right file preparation to ensure the final product looks as stunning on paper as it does on your screen. A misstep in file setup can lead to blurry images, unexpected colors, or incorrect sizing, which no one wants.
To help you get print-ready with confidence, we’ve put together this guide covering essential tips and best practices to ensure your artwork prints exactly how you envision it.
1. Use the Right Color Mode: CMYK vs. RGB
One of the most common mistakes in print design is working in the wrong color mode.
- CMYK (Cyan, Magenta, Yellow, Black) – Used for print. It ensures colors are optimized for physical reproduction.
- RGB (Red, Green, Blue) – Used for digital screens. If you design in RGB and send it to print, colors may shift and look different than expected.
Best Practice:
Always set your document to CMYK before you start designing. This way, you’re working with colors that can be accurately printed.
How to Convert:
- In Adobe Photoshop: Go to Image > Mode > CMYK Color
- In Adobe Illustrator: Go to File > Document Color Mode > CMYK
2. Set the Correct Resolution: 300 DPI Minimum
Low-resolution images can look crisp on a screen but turn blurry or pixelated in print.
- 72 DPI (dots per inch) – Standard for web images (not suitable for print).
- 300 DPI – The industry standard for high-quality print.
- 600 DPI – Recommended for detailed line art, fine text, or specialty printing.
Best Practice:
Always start with high-resolution images and set your document to 300 DPI minimum.
How to Check Resolution:
- In Photoshop: Go to Image > Image Size and look for DPI settings.
- In Illustrator: Vector graphics remain sharp at any size, but embedded raster images must be 300 DPI.
3. Add Bleed and Safe Margins
Bleed and margins prevent important design elements from being cut off during trimming.
- Bleed (0.125″ or 1/8″) – Extends beyond the document edges, ensuring color and images print to the very edge after trimming.
- Safe Zone – Keep all essential text and graphics at least 0.25″ inside the trim line to avoid accidental cuts.
Best Practice:
When setting up your file, add at least 0.125″ of bleed on all sides and maintain a 0.25″ safe margin inside the trim line.
How to Set Bleed:
- In Illustrator or InDesign: Set bleed in File > New Document under “Bleed and Slug.”
- In Photoshop: Manually extend your canvas size by 0.125″ on each side before saving.
4. Convert Text to Outlines
If you’re using a custom font and the printer doesn’t have it installed, your text may be substituted with a default font, ruining your design.
Best Practice:
Convert all text to outlines or embed fonts before exporting your file.
How to Outline Text in Illustrator:
- Select all text
- Go to Type > Create Outlines
For Photoshop and InDesign:
- Embed fonts by exporting as PDF with fonts included under File > Save As > PDF > High Quality Print
5. Use the Right File Format
The file type you send to the printer determines how well your artwork prints.
Best Formats for Print:
- PDF (Portable Document Format) – Ideal for print-ready files, retains fonts, layers, and high resolution.
- AI (Adobe Illustrator) or PSD (Photoshop) – Preferred for working files if additional edits are needed.
- TIFF or EPS – High-quality file formats used for print production.
- JPEG or PNG – Acceptable for photos, but they should be 300 DPI and not heavily compressed.
Best Practice:
Always ask your printer what file format they prefer and export accordingly.
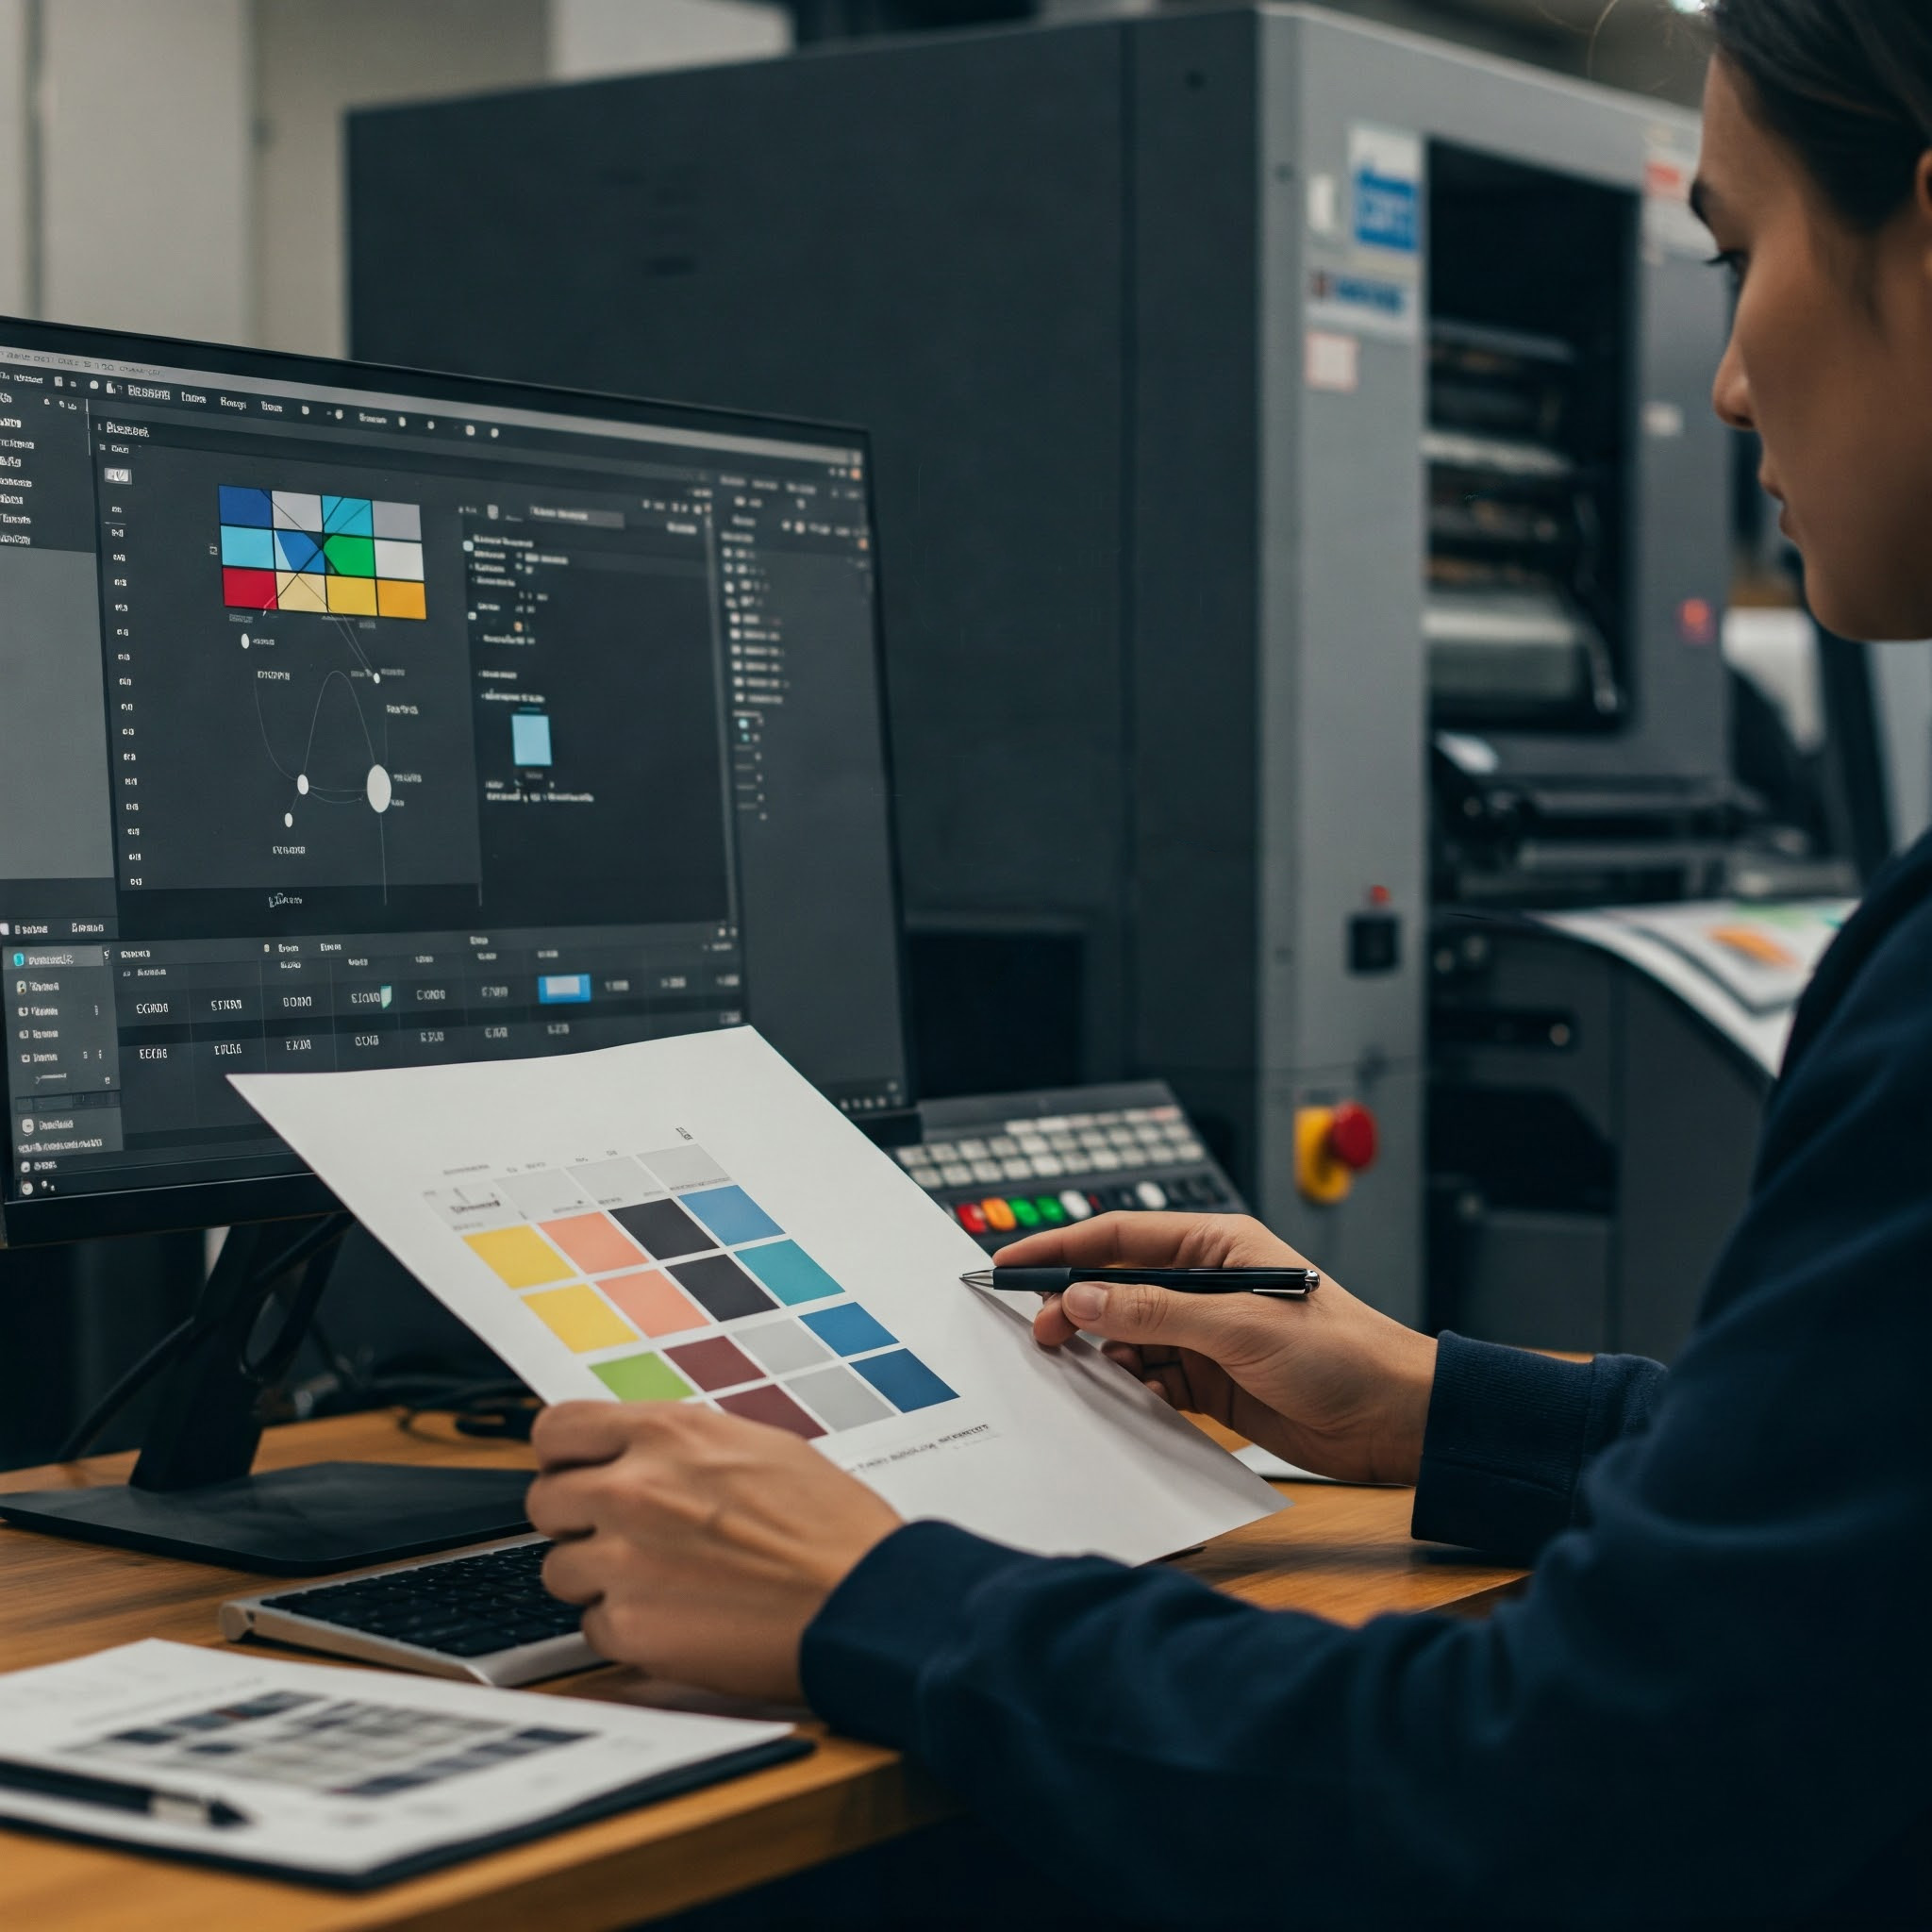
6. Check Your Colors and Proof Before Printing
What looks great on a screen may print differently due to color variations in ink and paper.
Best Practices:
- Use Pantone or Spot Colors for branding consistency.
- Print a physical proof if possible to catch mistakes before large-scale production.
- Check contrast levels to ensure readability and sharpness.
7. Save Your File Correctly
Before sending your artwork to print, double-check your settings:
✔ File is in CMYK color mode
✔ Resolution is 300 DPI or higher
✔ Bleed and safe margins are included
✔ Text is outlined or fonts are embedded
✔ Exported in PDF, TIFF, or other preferred format
Print Like a Pro
Preparing your artwork for print doesn’t have to be overwhelming. By following these best practices, you’ll ensure your designs print flawlessly, with accurate colors, crisp details, and professional quality.
Have questions about file setup? Need help getting your design print-ready? Reach out to us at Pressquatch—we’re happy to help you make sure your artwork is perfect before it hits the press.

